


- admin
- May 22, 2024
- No Comments
Pottery and Ceramics: Techniques and Tips for Getting Started with Throwing, Glazing, and Firing
Starting out in the world of pottery and ceramics can be fun and helpful. This old art form uses clay to make both beautiful and useful objects, giving you a lot of room to be creative and express yourself. Whether you’re a beginner or someone who wants to improve their skills, it’s important to know the basic techniques and tips for throwing, glazing, and firing. This article tells you everything you need to know to start making pottery and ceramics.
Understanding the Basics of Pottery and Ceramics
Pottery and ceramics are both ways of making things out of clay that are shaped and decorated before being heated and hardened. It can be broken down into three main steps:
- Throwing (or building by hand)
- Glazing
- Firing
At each stage, you need to use certain skills and methods to make high-quality pieces.
Essential Techniques for Throwing and Hand-Building
1.Choosing the Right Clay
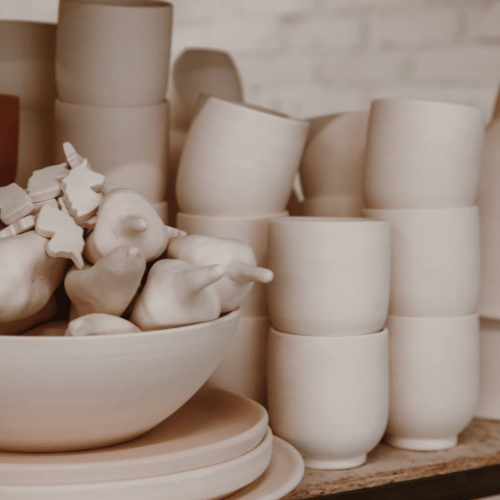
The texture, plasticity, and firing temperature of different types of clay are not all the same. Beginners usually start with stoneware or earthenware clay because it is easy to work with and can be used in many ways. Stoneware lasts longer and is better for making useful things, while earthenware is easier to work with and is better for making pretty things.
2.Preparing the Clay
Wedging is an important step to get rid of air bubbles and make sure the consistency is the same all over. To get the clay ready to throw or build by hand, knead it well on a clean, flat surface. When clay is wedged correctly, it is more flexible and less likely to break when it dries and fires.
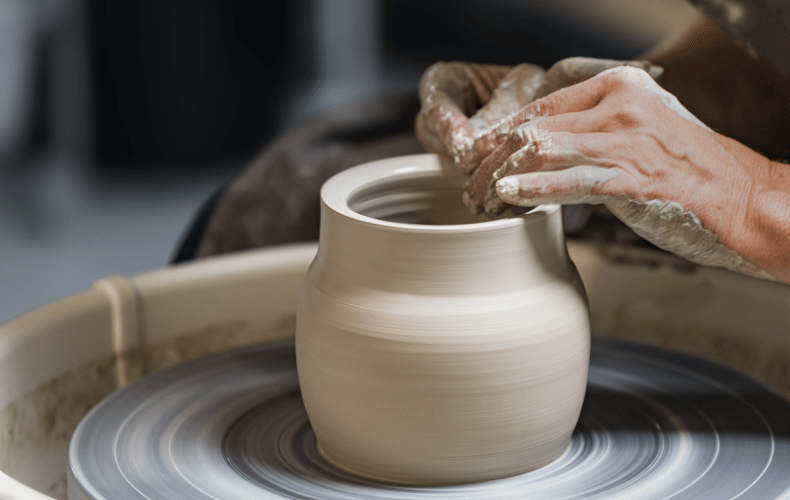
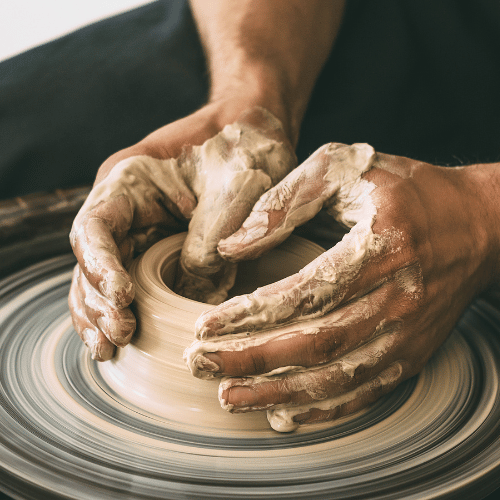
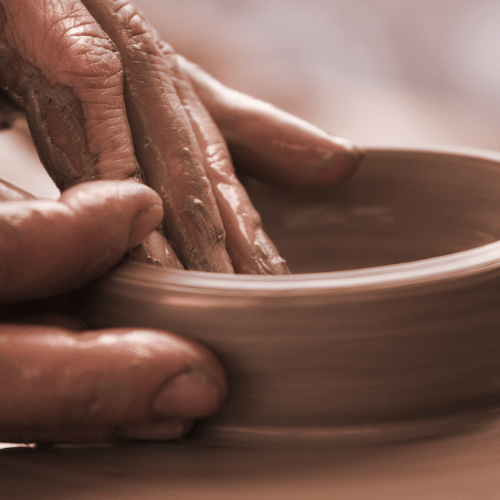
3.Throwing on the Wheel
Making shapes out of clay on a pottery wheel is called “throwing.” To learn the basics, people who are just starting out should start with simple shapes like bowls and cylinders. Some important techniques are:
- Centering the Clay: Putting the clay in the middle of the wheel so that it spins evenly.
- Opening: Making a hole in the middle of the clay to make the base.
- Pulling Up: To get the piece to the right height and thickness, draw the walls up.
- Shaping: making the shape more precise by using your hands and different tools to make smooth surfaces and clear shapes.
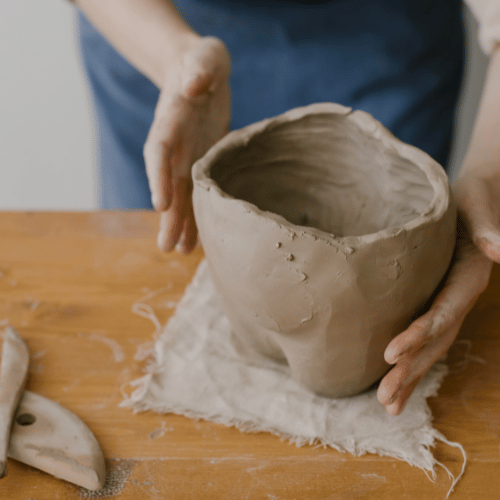
4.Hand-Building Techniques
Hand-building pottery gives you a more tactile experience and more freedom to be creative. Some common methods are:
- Pinching: When you pinch the clay between your fingers and thumbs, you can shape it into a pot.
- Coiling: When you coil clay, you stack and join coils to make walls.
- Slab Building: Making flat pieces of clay and cutting them into shapes to put together.
Essential Techniques for Glazing
1.Understanding Glazes:
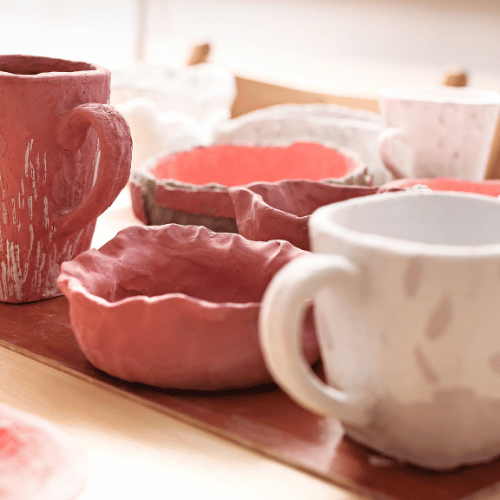
Minerals are mixed into glazes, which are liquids that melt when the pottery is fired, leaving a smooth, glassy surface. They can add tone, feel, and function, like making something safe for food. Glazes come in a lot of different styles, such as glossy, matte, clear, and opaque.
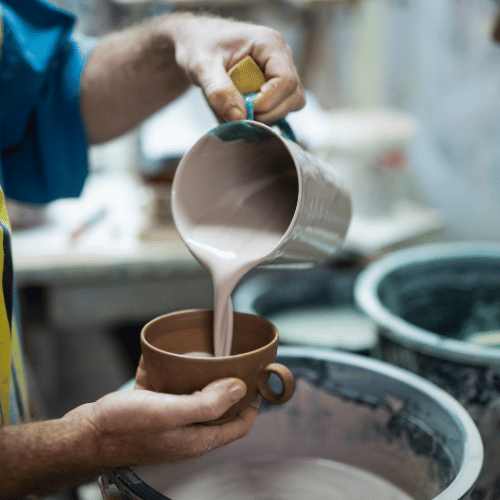
2.Applying Glazes:
These are some common ways to apply glazes:
- Dipping: When you dip something, you put it in a glaze bath to cover it evenly.
- Brushing: applying glaze with a brush, which lets you make designs and patterns with a lot of detail.
- Pouring: Putting glaze over the piece in a lot of small amounts at once.
Spraying: putting paint on with a spray gun so it goes on smoothly and evenly, especially on big or complicated pieces.
3.Testing Glazes:
Test glazes on small tiles first, then use them on your main pieces. This helps you figure out how the glaze will react with the type of clay you are using and the way it was fired.
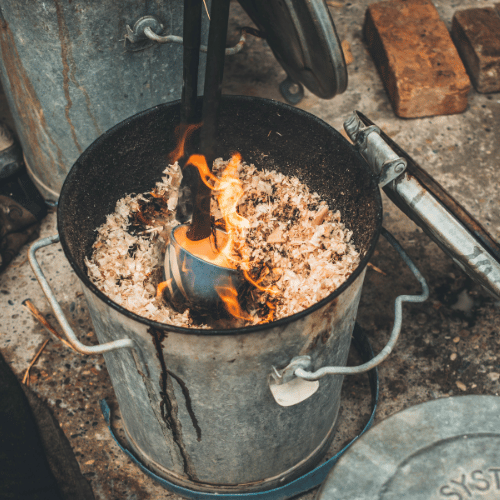
Essential Techniques for Firing
1.Bisque Firing:
Bisque firing is the first firing. It makes the clay hard and porous enough to hold glazes. When you put glazes on bisque-fired pieces, they are less likely to break and are easier to work with.
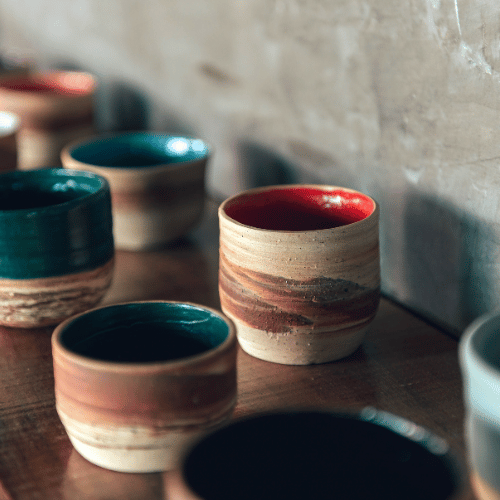
2.Glaze Firing:
Once the pieces have been glazed, they are fired in a glaze to melt the glaze and fuse it to the pottery. The temperature and atmosphere (oxidation or reduction) during firing can have a big impact on how the glaze turns out in the end.
3.Kiln Types:
There are several types of kilns used in pottery, including:
Electric Kilns: are great for beginners and small studios because they are easy to steer and use.
- Gas Kilns: Let you do reduction firing, which can make glaze effects that are all its own.
- Wood-Fired Kilns: This is an old method that gives the pottery unique qualities, like ash deposits and different colors.
Conclusion
Getting started with pottery and ceramics is a fun and educational way to improve your skills and creativity. By learning the basics of throwing, glazing, and firing, as well as some useful tips, you can make beautiful, useful things that show off your own style.
Remember that the best way to get better at pottery is to keep practicing, be patient, and be open to trying new things. Accept the process, take something away from each piece, and let your imagination run wild.